



Your shopping cart is empty!
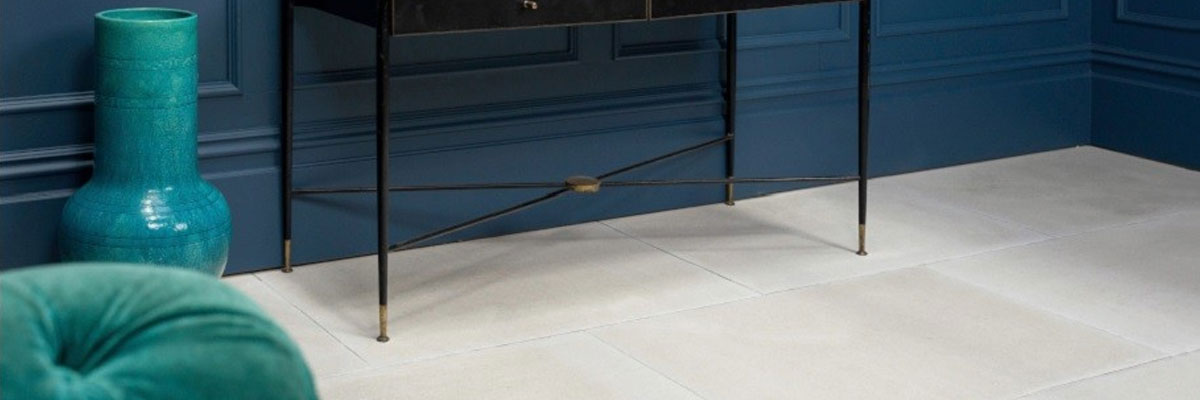
Porcelain tiles are one of the toughest flooring materials you can buy, and that's exactly why cutting them trips up so many home renovators. The same density and hardness that make porcelain floor tiles so durable also make them more challenging to cut cleanly., cracking, or splitting clean in half if you rush the job or use the wrong blade. If you've ever watched an expensive tile shatter halfway through a cut, you know the feeling.
The good news is that cutting porcelain isn't complicated once you understand what makes it different from softer tile types. With the right tools, a bit of patience, and a technique that respects how dense porcelain actually is, you can get clean, professional-looking cuts on your first attempt. This guide walks through everything you need, from tool selection to the exact steps, so your porcelain flooring project goes smoothly from the first cut to the last.
Why Cutting Porcelain Tiles Is Different From Ceramic
Don't assume that the same cutting technique you've used with ceramic tile will work here. Porcelain is made at a higher temperature than ceramic and is therefore denser and less porous. That's great news for durability and water resistance, but it also means porcelain resists cutting in a way ceramic simply doesn't.
Not every tile cutter or blade is suitable for porcelain, so it's important to choose equipment rated for the tile's material and thickness. For powered cutting, use a diamond blade specifically suited to porcelain. Wet cutting can help control heat, improve cutting performance and reduce airborne dust, while some porcelain-rated diamond blades are designed for dry cutting. Skip this step, and you'll likely end up with jagged edges, wasted tile, and a frustrating afternoon.
Tools You'll Need to Cut Porcelain Tiles
Before you make a single cut, it's worth matching your tool to the size and shape of the job.
Wet Saw (Tile Saw)
For straight, precise cuts, a wet saw is the gold standard, particularly if you're working on a full porcelain flooring installation. The water helps cool the blade and manage heat during cutting, which can help reduce the risk of chipping and cracking. . If you're cutting more than a handful of tiles, this is worth renting or buying.


Angle Grinder with a Diamond Blade
For curves, notches, or cutting around pipes and fixtures, an angle grinder fitted with a diamond blade gives you far more control than a straight-cutting saw. It's slower and takes more of a steady hand, but it can be a useful option for curves, notches and other irregular cuts.
Manual Snap Tile Cutter
A budget-friendly option, manual cutters work by scoring the tile surface and then snapping it along that line. They're fine for thinner porcelain and straight cuts, but thicker or large-format tiles tend to crack unpredictably with this method, so use it selectively.
Safety Gear
Cutting porcelain kicks up fine dust and occasionally small shards, so don't skip the basics: safety goggles, gloves, a dust mask, and ear protection if you're using power tools for an extended stretch.
Match the tool to the job; a manual cutter might be all you need for a small bathroom job, while a full kitchen floor may call for a wet saw.
How to Cut Porcelain Tiles Step by Step
Once you've got the right tool in hand, the process itself is straightforward if you take it slow.
1. Measure and mark the tile. Measure twice before you cut once; porcelain isn't forgiving of a second attempt on the same tile. Use a straightedge and a pencil or grease marker to draw a clear, visible cutting line.
2. Set up your cutting tool. If you're using a wet saw, make sure the water reservoir is filled and flowing steadily over the blade before you start. Align the tile with your marked line and double-check the blade is seated correctly.
3. Make the cut slowly and steadily. This is where most mistakes happen. Feed the tile into the blade at a slow, even pace; don't force it. Letting the blade do the work, rather than pushing hard, is the single biggest factor in avoiding cracks and chips.
4. Smooth the edges. After cutting, run a diamond hand pad or tile file along the cut edge to knock off any sharp or rough spots. This step is easy to skip but makes a noticeable difference in the finished look.
5. Dry-fit before installing. Place the cut tile in place to ensure a proper fit before applying adhesive. It's much easier to make a small adjustment now than after the tile is set.
How to Cut Curves and Notches in Porcelain Tile
Not every cut is a straight line. Fitting porcelain floor tiles around pipes, corners, or door frames calls for a bit more finesse. An angle grinder is generally your best bet here; score the outline of the curve or notch first, then work in small sections, gradually nibbling away material rather than trying to cut the whole shape in one pass. Tile nippers can help clean up smaller, fiddly sections. This approach is especially common in bathroom installs, where tiles frequently need to wrap around pipework or fixtures.
Common Mistakes to Avoid When Cutting Porcelain Tiles
A few recurring errors account for most cracked or wasted tiles:
Cutting too fast. Rushing the blade through the tile is the number one cause of chips and cracks.
Using a dry blade. If you're using a wet saw, make sure the blade is adequately cooled with water. If dry cutting, use a diamond blade specifically designed for dry cutting porcelain and follow the manufacturer's instructions.
Skipping a test cut. Always practice on a spare or offcut piece before cutting tiles you actually plan to install.
Poor support during the cut. An unsupported tile edge is far more likely to snap unpredictably.
Ignoring a worn blade. A dull diamond blade forces you to push harder, which increases the risk of cracking. Replace blades before they're fully worn out.

Tips for a Cleaner Finish on Porcelain Flooring Projects
A few small habits go a long way toward a professional-looking result. Let the blade do the work rather than forcing the tile through; patience really does pay off here. Depending on your saw type, you may get a cleaner cut face-up or face-down, so it's worth testing both on a spare tile first. Keep the blade cool and properly lubricated throughout, and don't wait until it's struggling to top up the water. And when you're ordering tiles, build in a buffer of 10% extra to account for cutting waste, offcuts, and the occasional miscut; it's far cheaper than a second delivery.
When to Call a Professional
Some jobs are worth handing off. Large-format porcelain tiles, extra-thick formats, or intricate layouts like herringbone patterns push the limits of what's practical for a first-time DIYer. When tiling over a wide area or using a pattern that has a very low tolerance for error, consider the expense of hiring a professional tiler versus the material and time that may be lost.
Final Thoughts
With a little patience, a steady hand and the right blade, cutting porcelain tiles isn't difficult at all. Go too fast, and you'll find the tiles cracked. Slow down, cool the blade, and let the tool do the work, and you'll get clean, consistent cuts every time.
If you're still sourcing tile for your project, it's worth starting with a range that's built for the job. Beswick Stone offers a wide selection of durable, beautifully finished porcelain floor tiles suited to kitchens, bathrooms, and outdoor spaces, so once you've got your cutting technique sorted, you'll have the right tile to match.
FAQs
Do you need a wet saw to cut porcelain tile?
Not always, but it's the best option for clean, precise cuts, especially on porcelain floor tiles. A wet saw cools the blade and reduces the risk of cracking. For small jobs or curved cuts, an angle grinder with a diamond blade or a manual snap cutter can also work.
Can you cut porcelain tile with a regular tile cutter?
A manual snap cutter can cut porcelain, but it works best on thinner tiles and straight lines. Thicker or large-format porcelain tiles are more likely to crack with a manual cutter, so a wet saw is generally safer and more reliable.
What blade do you need to cut porcelain tiles?
A diamond-tipped blade is essential. Porcelain is dense and hard, so standard ceramic blades wear down quickly or cause chipping. Continuous rim diamond blades give the smoothest cut.
Related Products
