Your shopping cart is empty!
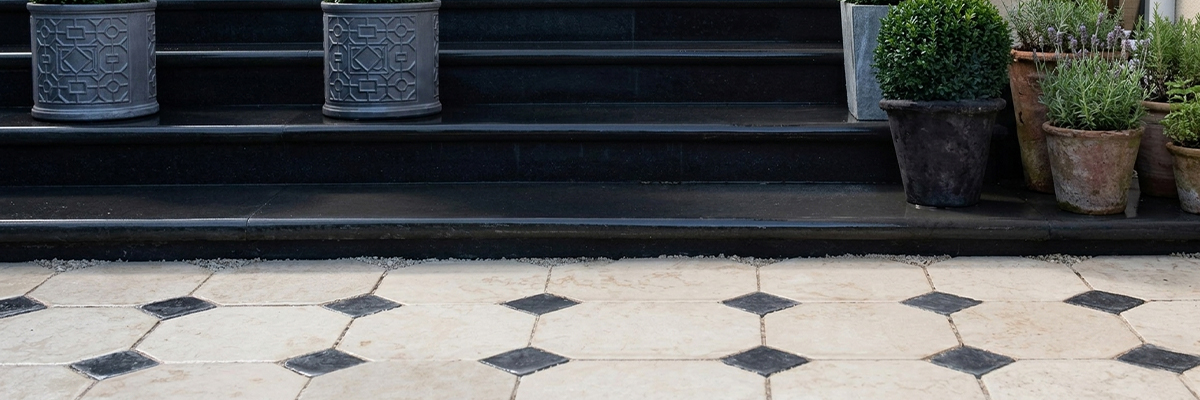
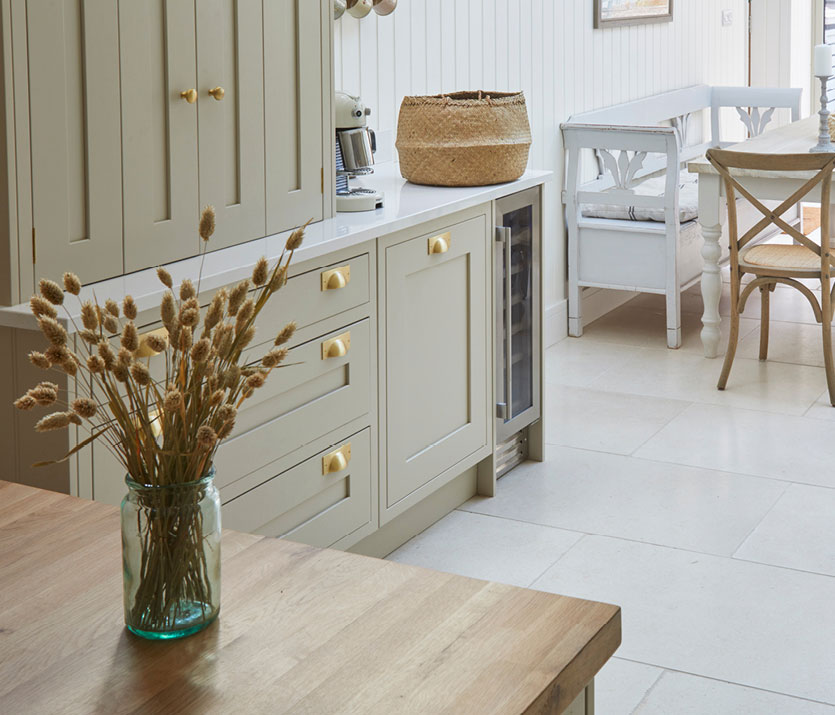
Natural stone paving is a popular option for outdoor spaces, and limestone is especially popular across the UK. Its soft colors, smooth texture, and classic style make it a good choice for both traditional and modern gardens.
Whether you are adding a new patio, updating a terrace, or redesigning your whole outdoor space, limestone paving offers a strong and attractive solution that improves the overall look of your garden.
However, getting a beautiful and long-lasting result takes more than just choosing the right stone.
Let’s Help You Choose and Install Limestone Paving
Good planning and proper installation are important for a successful project. Choose the right thickness and edge style, build a strong base, and ensure good drainage. Each step helps create a finish that is durable, neat, and long-lasting.
Related products :
Toulouse Limestone
Silver Limestone
1. About Our Limestone Paving
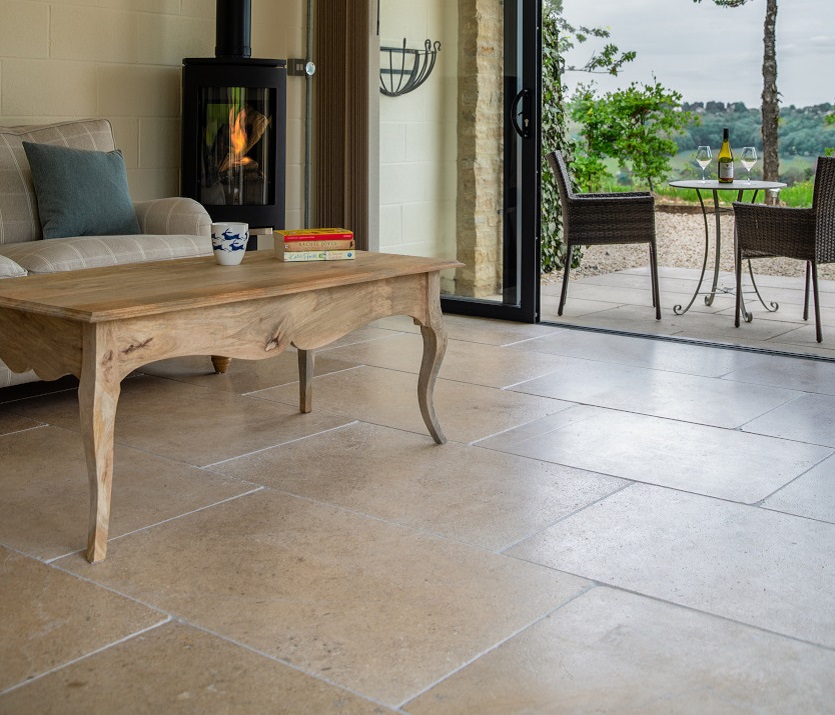
Learn about the natural features, strength, durability, and outdoor benefits of our limestone paving and see why it is a great choice for many different outdoor projects.
It is suitable for patios, garden paths, terraces, courtyards, and outdoor seating areas
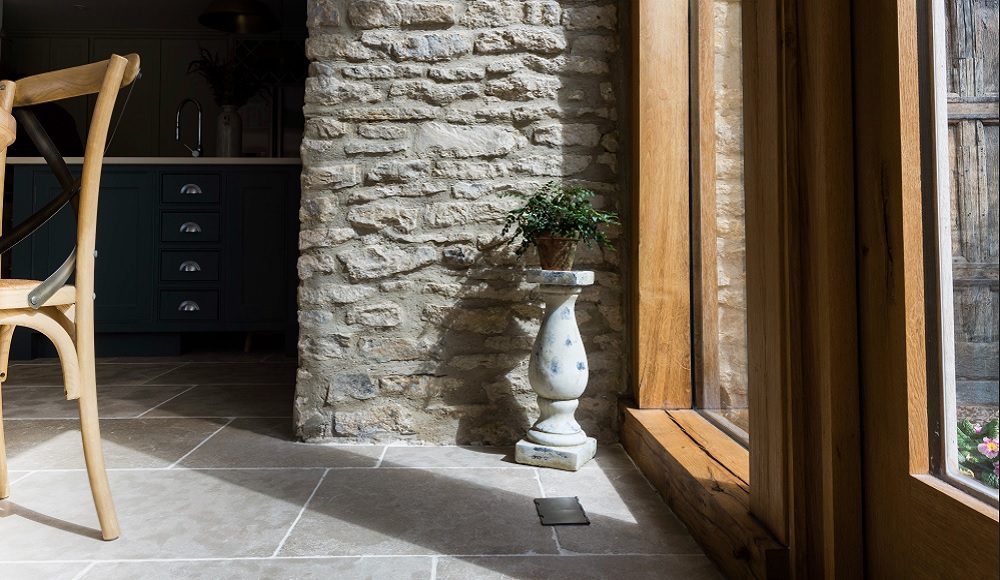
As a natural product, each slab will vary slightly in colour, shade, and texture. You may notice small markings or tonal differences across the surface. This is completely normal and forms part of the stone’s authentic character. No two installations will look the same, which adds to the individuality of your outdoor space.
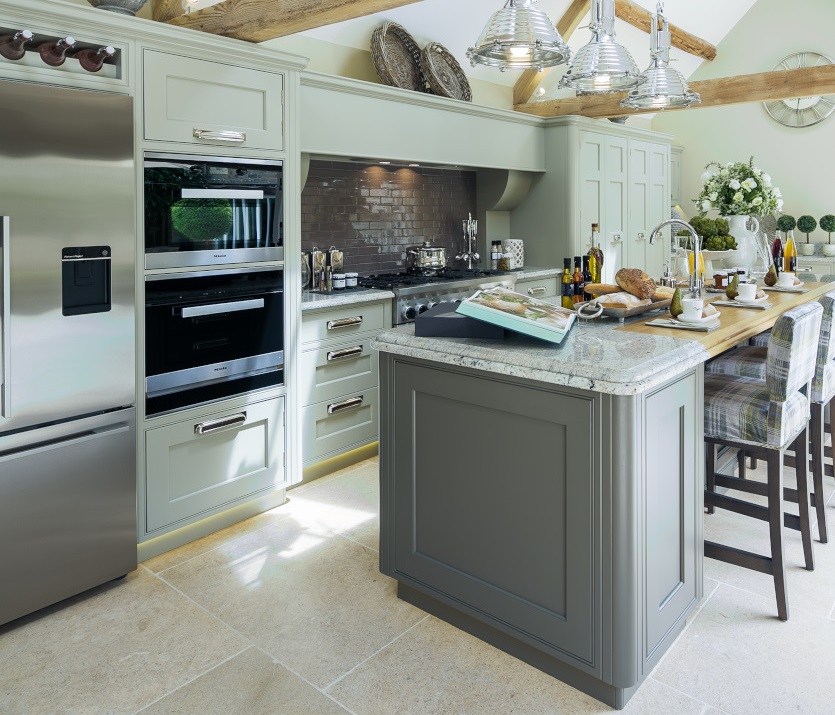
2. Colour Options
Explore the available tones and understand how natural variation enhances your finished project.
Our limestone paving is available in the following colours:
- Cotswold
- Beige
- Grey
- Mixed
- Sand
- Cream
Because limestone is a natural material, tones may vary between slabs. For the best overall appearance, we recommend blending slabs from different crates during installation. This helps create a consistent, balanced finish across the area.
Always check the stone in natural daylight before laying limestone paving, as colours can appear different when wet or in shaded conditions.
3. Edge Finish Options
Choose the edge style that best suits your design and surrounding architecture.
The edge detail of your paving plays an important role in the overall look of your patio or garden area. We offer three edge finishes to suit different styles:
Gently Aged Edge
A softly weathered edge that provides a traditional and relaxed appearance.
Distressed Aged Edge
A more rustic option with added character, ideal for country gardens or heritage-style properties.
Hand-Cut Edge
A cleaner, straighter yet still aged finish that often complements contemporary and modern outdoor designs.
Selecting the right edge finish helps ensure the paving blends naturally with your property and landscaping.
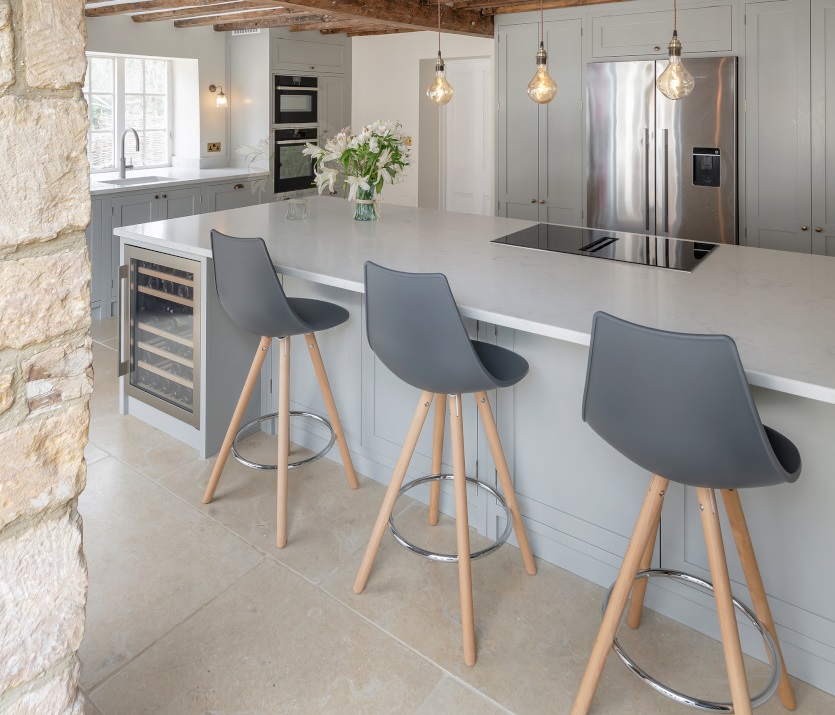
4. Thickness Options
Select the appropriate slab thickness based on use and traffic levels.
Our limestone paving is available in two thicknesses:
22 mm: suitable for standard patios and pedestrian areas when installed correctly on a proper sub-base.
30 mm: provides additional strength and a more substantial feel underfoot. It is often chosen for higher-traffic areas or projects where a thicker stone profile is preferred.
5. Planning Your Project
Good planning ensures a smoother limestone installation and long-term performance.
Before beginning your installation, take time to plan properly.
Start by measuring the total area and allow an additional 5–10% for cuts and future replacements. This helps avoid delays if extra material is needed.
Drainage is also essential. Your paving should slope gently away from your property to allow rainwater to run off naturally. A fall of approximately 1:60 is recommended.
It is also good practice to dry lay a small section before fixing the slabs in place. This allows you to:
- Blend colour variation
- Check spacing and alignment
- Confirm the layout pattern
This step helps prevent uneven colouring or alignment issues later on.
6. Tools & Materials You’ll Need
Make sure you have everything prepared before you begin.
Having the correct tools like a tape measure, a spirit level, a string line and pegs, a rubber mallet, a shovel, a plate compactor, an angle grinder or preferably a wet saw.
And materials like MOT Type 1 sub-base, sharp sand, cement, priming slurry or bonding agent, jointing compound, and optional breathable stone sealer will make installation easier and more efficient.
7. Preparing the Ground
A solid foundation is key to a long-lasting installation.
Ground preparation is one of the most important stages of the process.
Step 1: Excavation
Excavate the area deep enough to allow for:
- 100–150 mm of compacted sub-base
- 30–50mm mortar bed
- The thickness of your chosen slab (22mm or 30mm)
Step 2: Installing the Sub-Base
Lay MOT Type 1 in layers, compacting each layer thoroughly with a plate compactor. The base must follow your planned drainage slope. A properly compacted sub-base prevents sinking and movement over time.
Step 3: Laying a Full Mortar Bed
Mix mortar at a ratio of 4 parts sharp sand to 1 part cement. Spread the mortar evenly to provide full support beneath each slab.
Avoid using small dabs of mortar, as this can create weak points and lead to cracking or instability.
8. Laying the Slabs
Careful placement ensures a professional and level finish.
Before positioning each slab, apply a priming slurry to the underside. This improves adhesion between the stone and mortar.
Place each slab onto the wet mortar bed and tap gently into position using a rubber mallet. Check levels regularly with a spirit level and maintain consistent joint widths of approximately 8–12 mm.
Continue checking the drainage fall as you work across the area.
9. Jointing
Proper jointing secures the installation and completes the look.
After allowing the mortar bed to cure for 24–48 hours (depending on weather conditions), fill the joints using a suitable jointing compound, external grade grout or mortar.
Ensure the joints are filled and remove any excess material before it sets to avoid staining.
10. Sealing (Optional)
Optional protection for easier maintenance and enhanced appearance.
Once the paving is completely dry, a breathable stone sealer can be applied.
Sealing can:
- Help protect against staining
- Reduce moss and algae growth
- Make cleaning easier
- Enhance the natural colour of the limestone
Although not essential, sealing is recommended for long-term care.
11. Cleaning & Maintenance
Simple care will keep your paving looking its best for years to come.
Routine maintenance is straightforward. Sweep regularly to remove debris and wash occasionally using clean water and a mild stone-safe cleaner.
Avoid acidic or harsh chemical products. Pressure washers should be used carefully and not at close range.
Over time, limestone may soften slightly in tone. This natural weathering adds character and does not affect performance.
Frequently Asked Questions
Find clear answers to the most common questions about limestone paving, installation and maintenance.
Do I need to seal the paving?
Sealing is optional but recommended. It provides additional protection and makes maintenance easier.
Can I lay slabs directly onto soil?
No. Without a proper sub-base and full mortar bed, the slabs are likely to move and sink.
What joint size should I use?
Joints of 8–12mm are recommended to allow for natural variation.
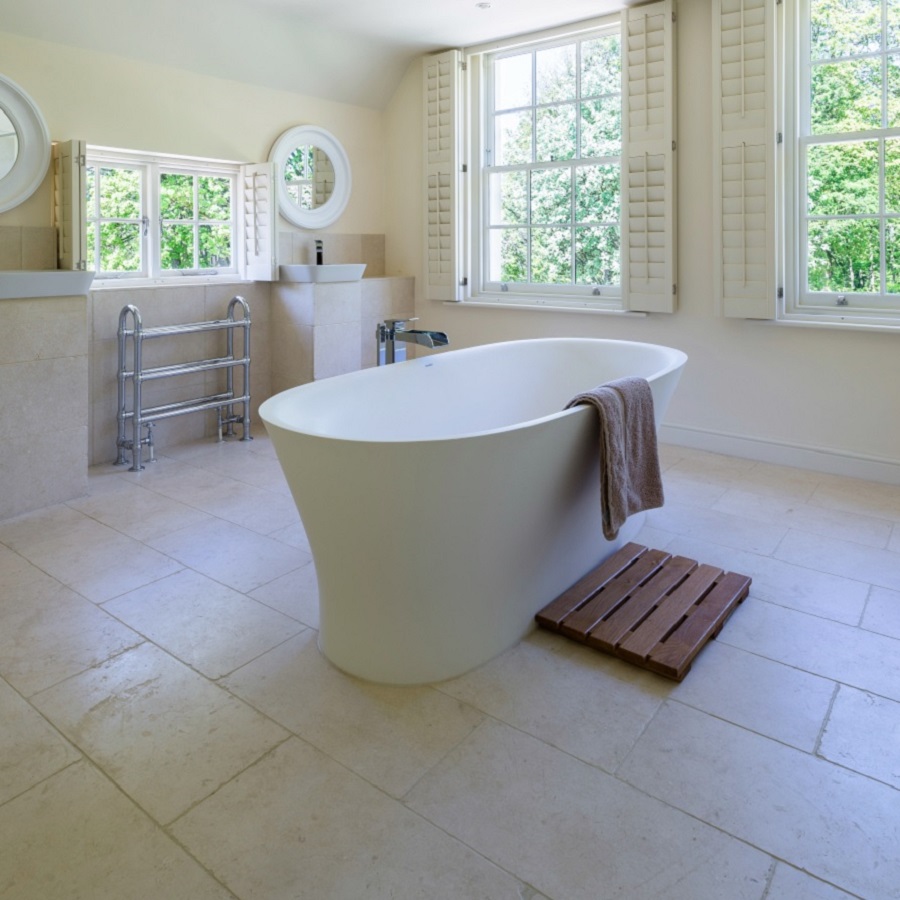
Is limestone suitable for the UK weather?
Yes. When installed correctly with proper drainage, limestone performs well in UK conditions, including frost.
How long before I can walk on it?
Wait at least 24–48 hours before walking on newly laid paving.
Which thickness should I choose?
22mm is suitable for most patios.
30mm offers additional strength and a more substantial feel.
General Guidance
This guide provides general best-practice advice. Installation methods may vary depending on site conditions. For large or complex projects, professional installation is recommended.
With the right preparation and attention to detail, limestone paving can transform any outdoor space into a practical and visually appealing area. From selecting finishes and colours to ensuring a solid foundation, every stage contributes to the final result.
Taking the time to plan carefully and follow correct installation methods will help you achieve a surface that performs well in all seasons and continues to enhance your property for years to come.
Also read :
Limestone Flooring Grades Explained: What UK Buyers Rarely Get Told